


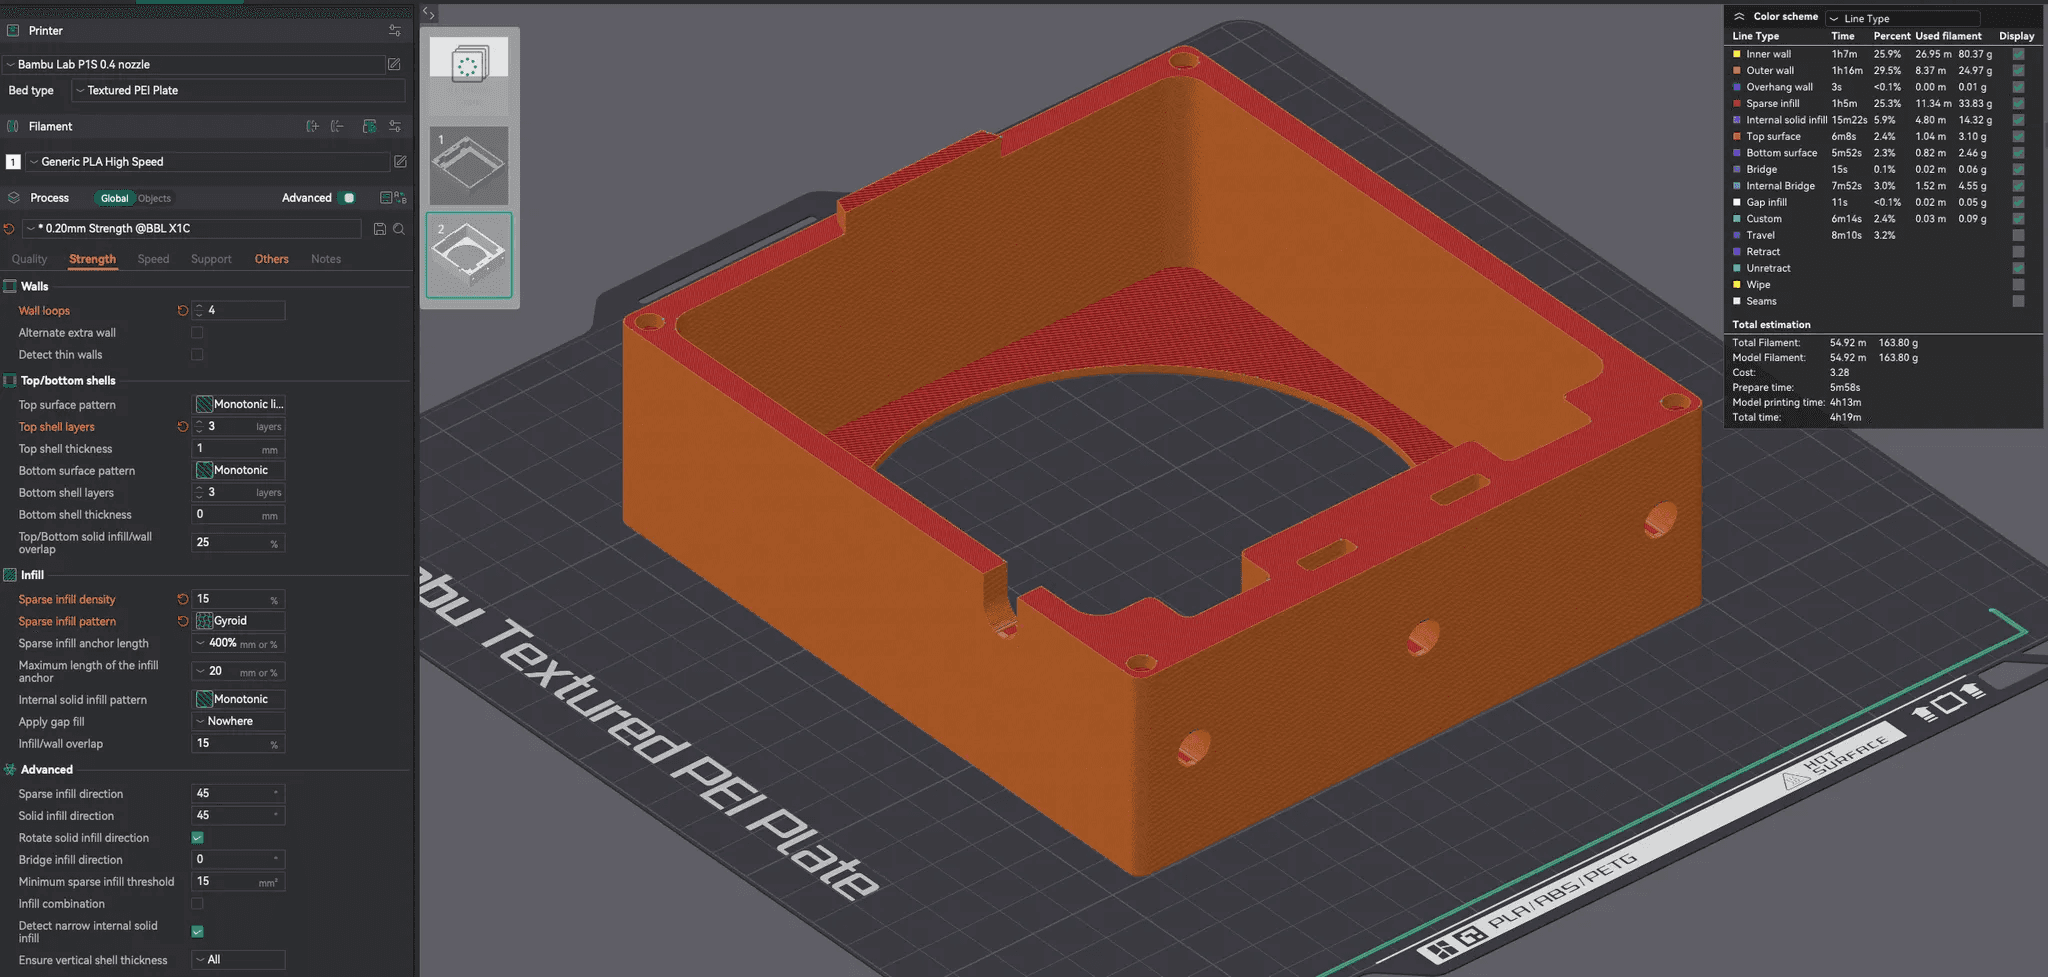
Slicer Settings
Free
Click here to download files from Thangs.com
✅ STL
✅ STEP
✅ 3MF
Thank you for checking out the project guide for the MUIN Fume Extractor boom mount. I like to keep as much off the desk as possible, and having the fume extractor taking up space pissed me off within 7 minutes. I designed this housing to fit around the MUIN fume extractor that can be bought on Amazon, giving me the ability to mount the extractor to a boom arm instead of having it sit on the desk. It's a 2-piece print that used a few magnets to keep the top on, allowing for easy and painless access to filtration and filters.
Below are the tools that are required for this guide.
For a list of my favorite tools that I use all the time, visit my Amazon storefront by clicking here.
⚠️ Disclaimer: All Amazon storefront links are affiliated
Below are some parts that you are required to have to make this guide work.
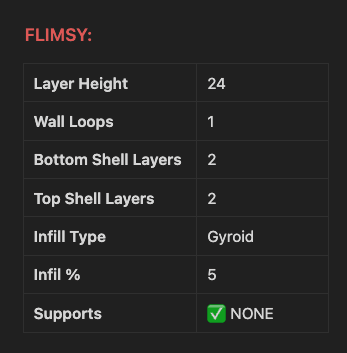
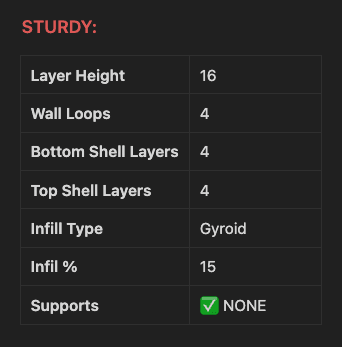
While it was a little bit flimsy, it did work! I would recommend beefing it up a bit though.


Once your two parts are printed, using either a regular press or a heat press:
Press all x8 5mm x 3mm magnets into their holes in each corner.
Heat press all x3 1/4” heat threaded inserts into the PART A - Bottom
Note
I made the holes for the 5mm (D) magnets 5.2mm, so it should just be enough to push the magnets into place if you just wanted to put a glob of super glue in the hole. Or, you can use a head press to push the magnets into place.
Here is what the MUIN fume extractor looks like on it’s own:

And here is what it looks like disassembled. The part holding the filter (far right of below image) can be removed as it’s not needed. Once

Take the “PART A - BOTTOM” part and lay it flat on the desk. Take the MUIN fume extractor with the filter facing up towards you, press the fume extractor into the PART A. The bottom feet of the extractor are mean to

The bottom feet of the extractor are mean to slide into the cutout grooves of the PART A piece.
These are the feet of the fume extractor:

These are the grooves of the 3D printed part:

Here is what the fume extractor looks like slid into the 3D printed bottom part. The face of the fume extractor that is facing the camera is the side where the filter rests.

You can then place the filtration part and the filter on top of the MUIN.


Then push the PART B - TOP part down on top of everything. The small teeth that printed on this part keep the flimsy blue filter in place. The final product should look like this!


You are now ready to mount to your boom arm of choice!


